
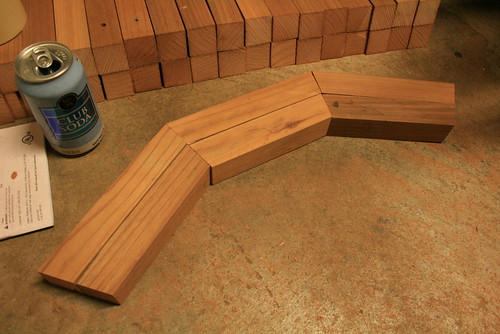
6 of the 24 pieces that make up the double ring of the crown
I made the inner crossbars by cutting four pieces of the salvaged redwood 2x2's slightly larger than the inner diameter of the ring. I cut grooves into these pieces so that they would snap into each other.
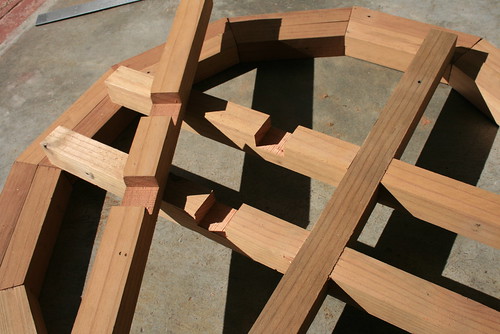
The inner crossbars of the crown.
Next, I recessed the 8 spots where the crossbars meet the ring with a router tool. I then made the corners square with a small bit on the Dremel tool. The crossbars sink half way into each ring, and the rings sandwich the crossbars in.
The crown crossbars are recessed half way into the top ring.
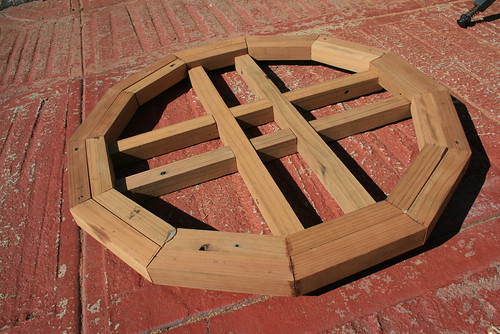
After cutting notches in both the top and bottom rings, it was ready to be glued together, sandwiching the crossbars in the middle. Each notch had to be traced out and measured individually.
Getting ready to glue the top and bottom rings together.
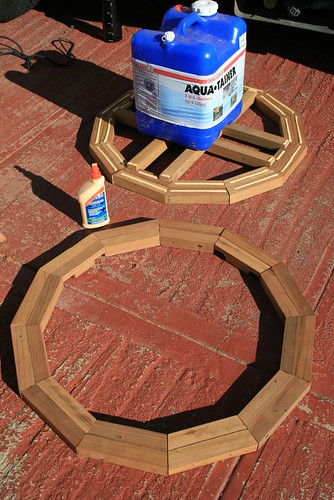
After the rings were pressed on top of each other, I used long wood screws to screw them together, for added strength, to make sure the sandwiched pieces wouldn't come apart. These were the only screws in the entire structure of the crown.
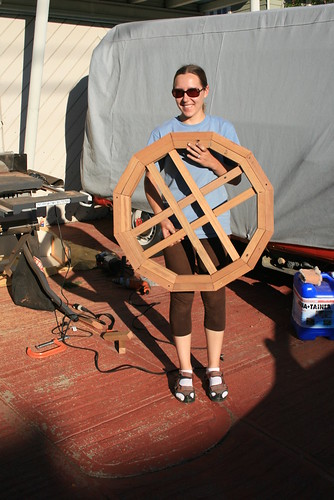
Me and the crown all put together!
The crown is pretty strong! The crossbars really made a great difference in its strength. I am letting it dry overnight, and the next thing I need to do is sand all of it again to even out any bumps or jumps (some pieces didn't join exactly flush).
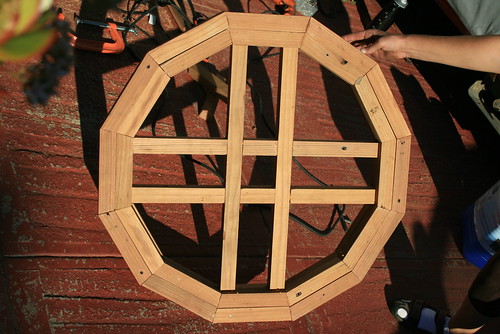
A closer look at the crown.
Its not perfect, but after sanding and filling in any gaps with wood putty, I think it should look a lot better. I am debating whether or not to just varnish and leave it natural, or paint it in a colorful, traditional Mongolian pattern, like this:

No comments:
Post a Comment