
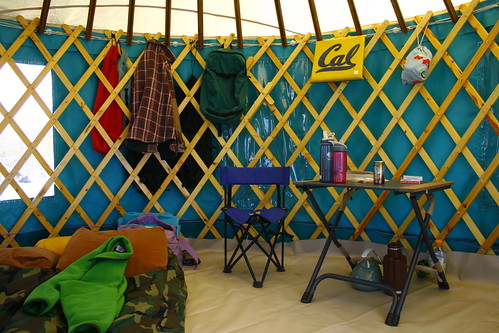
Our comfortable set-up of the interior.
Its been such a long time since we took the yurt out to do some camping! But, the opportunity to take the yurt out for President's Day weekend in Saline Valley just could not be missed!! Before we packed anything for the trip, Romy and I took all of the yurt pieces out of the garage, brushed them off, and put them on the roof rack of the Subaru. This took only about one hour, which was a lot shorter than I expected. Hey, I guess lugging around a yurt that was designed to be portable is actually not that bad!
We didn't bring the cots to sleep on this time.
I stopped at the store (Home Depot) to make sure I had enough rope for this trip. I found some nice 50ft and 100ft long colorful synthetic rope that already came on their own plastic spools. I bought 4 spools, and man did that make setting up the yurt really a lot easier this time! No more bunching up the rope while weaving it between khana. . . . its already nicely wrapped, and the spool of course is re-usable.
While driving to Saline Valley, we noticed the Subaru was quite top heavy. We've never weighed the yurt out right, but I am guessing its at least 200 lbs of total weight on the top of the roof. Canvas can get quite heavy, and so are the khana! Anyways, when we arrived by the springs, we made sure to pick out a nice and level spot. We eventually found one between some creosote bushes. As we set up this time, we had a few new techniques we wanted to test out.
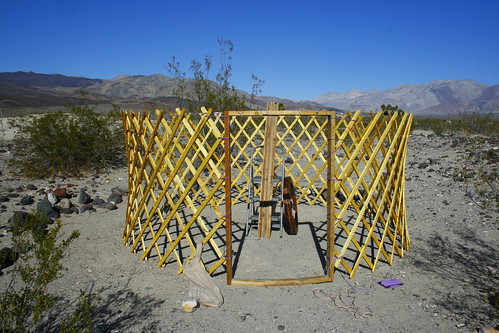
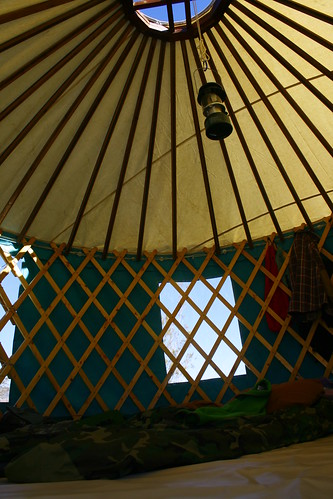
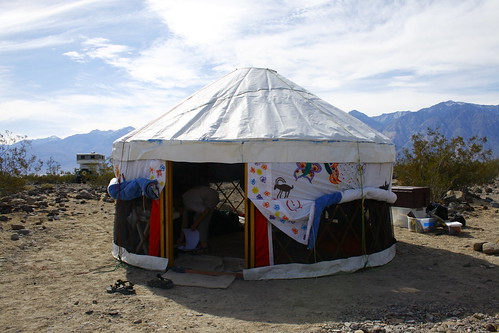
The khana are all set up, perfectly round this time!
In the past, we've spent so much time trying to get the khana set up in a perfectly round shape. This time we used a very simple but effective technique to make sure we got it. I cut a piece of rope that was 6 ft long, equal to the radius of the yurt. Then I attached two metal stakes, one to each end. I put one end securely into the ground where I wanted the center of the yurt to be. Then I dragged the other end along the ground, making an outline of a perfect 12 foot diameter circle. I dragged it around and around so that the circle was well marked. Conveniently, this method could be used when picking out a yurt site too! Sometimes the size of a camping site can be tricky to eyeball. If you do this circle drawing technique, you will know for sure if the yurt will fit in the spot or not. Very simple and very quick!
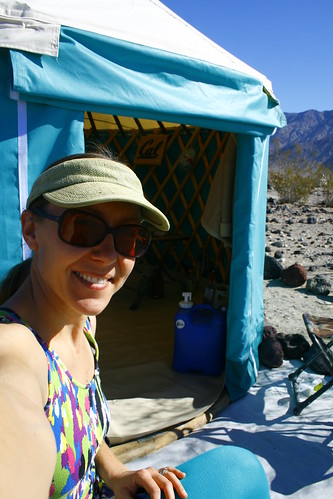
All set up - time for a break on our front porch!
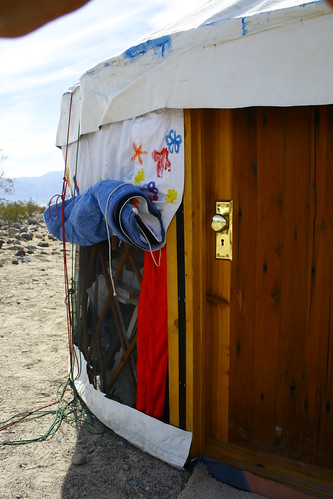
I regret not taking more pictures during the set-up process, which could have shown in more detail how we did it. But dragging a rope around in a circle is pretty simple enough. We also used some extra stakes to hold the khana in place before it was all roped together. I just hammered a bunch of stakes that straddled the bottom of the khana pieces in certain places to keep it from bending outward. The stakes were temporary - I took them out once we got the khana and door frame all roped together.
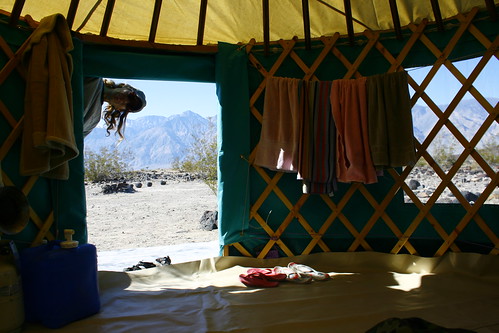
The view from the front door was amazing! Romy peeks inside.
This was by far the best set-up we've done together. All it took was some extra (by super simple) steps in the set up to make sure the yurt was perfectly round. After we were all finished, we took a nice long break. We deserved it! It took almost 3 hours! We even set us up a little front porch area, lined with pumice rocks. We had the best view from our front porch. Wow!
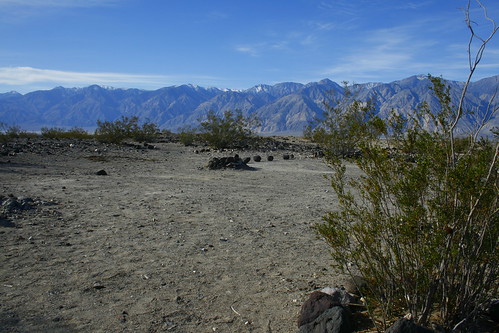
Can anything beat this view!?
We found another homemade yurt camping at the springs that weekend. Of course we went to check it out. The owners (Ken and Tiffany) made the yurt out of recycled materials. The outside is made of old plastic billboard material. It was designed a little bit differently than mine. They had an awesome mesh wall that went all the way around, underneath the outer wall. The outer wall was able to roll up and expose just the mesh section for some ventilation! What an incredible idea! What was even more awesome was that they let us go inside and check it out. Ken told me when he was designing his yurt, he actually found this blog and so he recognized my yurt when he drove past it before meeting me. Small world!
We found another homemade yurt (Ken and Tiffany's) that weekend. It was super cool!
After camping in the yurt for four days and nights, and after checking out Ken's yurt, we had a bunch of ideas that we now want to try. The biggest thing is that I want to re-design how the floor works. I also want to make a solid wood door, make hanging mini shelving, and improve the ventilation situation. So many ideas! I will be updating the blog as I make each improvement. I can't wait to get working on the yurt again!
A close up of the mesh ventilation on Ken and Tiffany's yurt.
No comments:
Post a Comment